|
1973 VOLKSWAGEN |
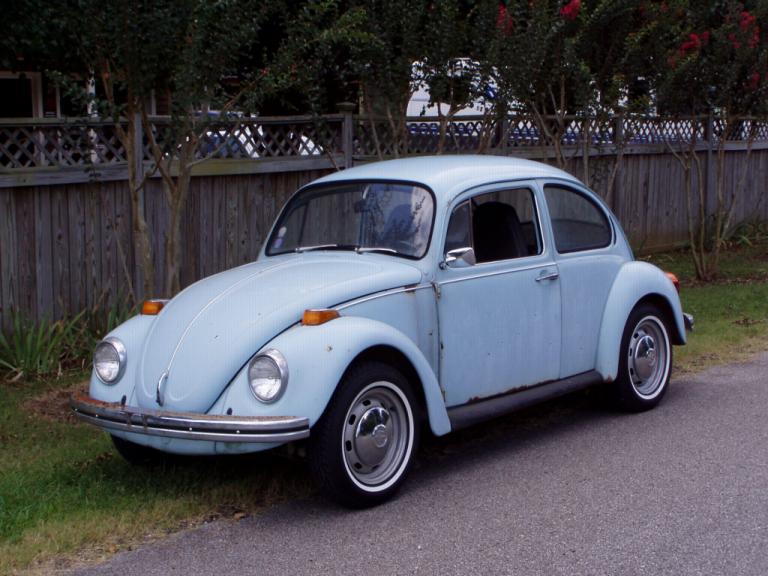
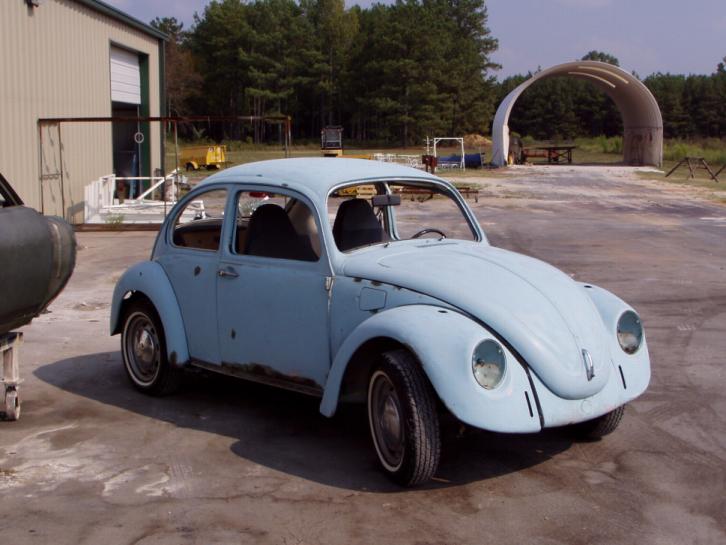
My mother-in-law, Bernice Owens always drove little VW Beetles; and she used them like trucks in the everyday business of running her farm. I've seen her drive a little Beetle out in the middle of a field, pick up a newborn calf, put it in the front seat and lead the mother back to the barn. You know, I was blessed with something most guys only wish for - a great mother-in-law. She accepted every one of her children's spouses as though we were her own children. She had a son and 3 daughters and she raised them alone after her husband died, all the while running her farm business; and everyone of her children graduated from college. And she was involved with her grandchildren throughout their lives - even to the point that the grandchildren would plan weekends with grandma, one for the girls, another for the boys. I could talk forever about the great times we shared and about the type person she was; but that's another story for another time. When she died, Jerri, my wife, inherited her mother's last VW, a 1973 standard Beetle, When I met Jerri in 1969 she was driving a little 1967 VW Beetle. We kept it a few years and it went its merry way as we moved up to larger cars that better suited our family and lifestyle. But Mrs. Owens knew Jerri and I would take care of her little car. And, as I go through the restoration process, its done with her in mind. The little car will always be in our family so I'm not concerned with costs. I want it to be just like it was on the day Mrs. Owens picked it up from the dealer. As long as Mrs. Owens owned this little car, she was angry with the dealer. She had bought several little Beetles from him, and they were all tan. But, he didn't have a tan one when she went to buy a new car; and, as he was slowly going out of the VW business, he wasn't interested in finding her a tan car. He had the little blue car on the lot, and he wanted to sell it. But, I don't think she ever forgave him for that. When we started the restoration process, Jerri thought about changing the color to tan, but we talked her out of that!
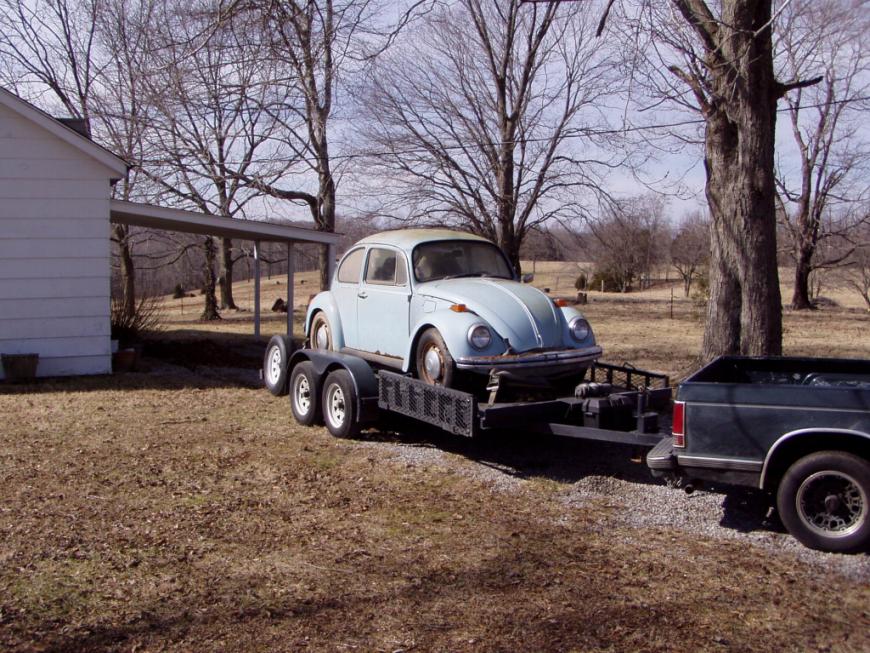
But those years of just sitting had begun to take its toll. The tires were dry rotted, the chrome on the front bumper was beginning to peel, and there were specks of surface rust along the bottom edges of the doors and other places on the body. And when I went to move it, the brakes were frozen. But, we got it on my trailer and headed to Huntsville with it, the farthest it had ever been from Mrs. Owens' farm in its entire life! A few months and $1500 later, the little car was mechanically perfect. We pulled the motor to replace the clutch and the engine to body seal, replaced all the brake pieces and parts, installed a new fuel pump, muffler, alternator and starter and completed a major tune up to include rebuilding the carburetor.
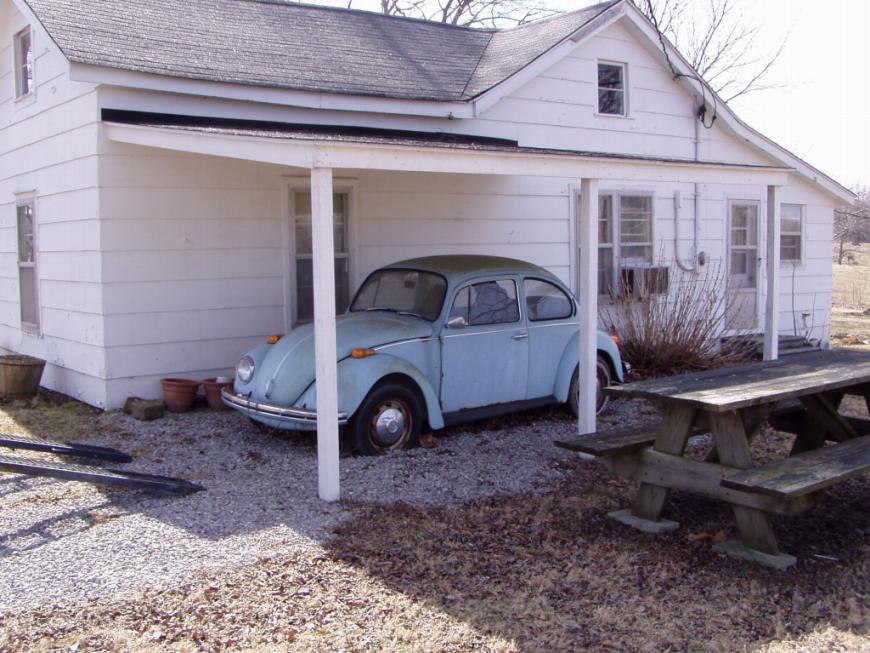
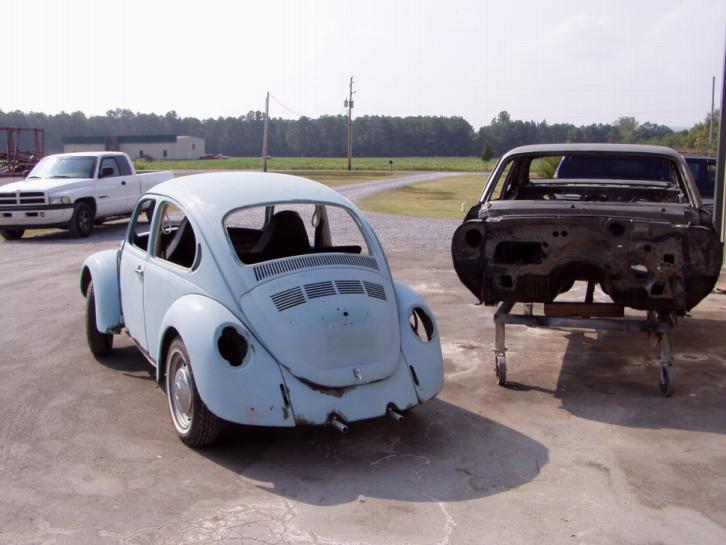
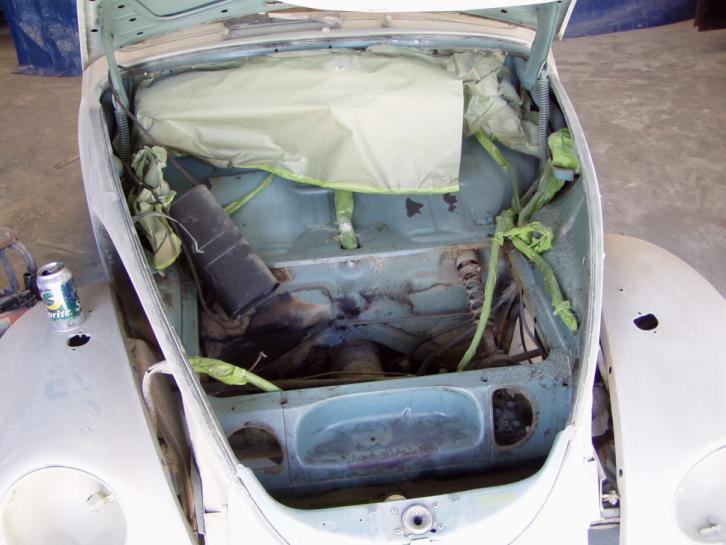
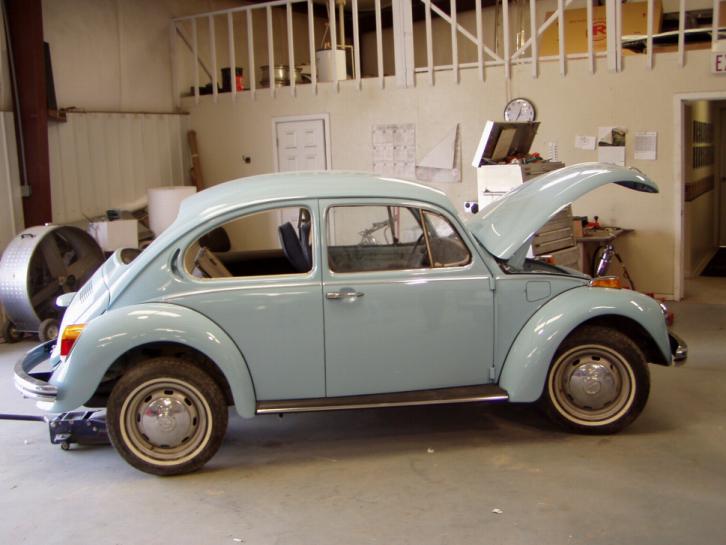
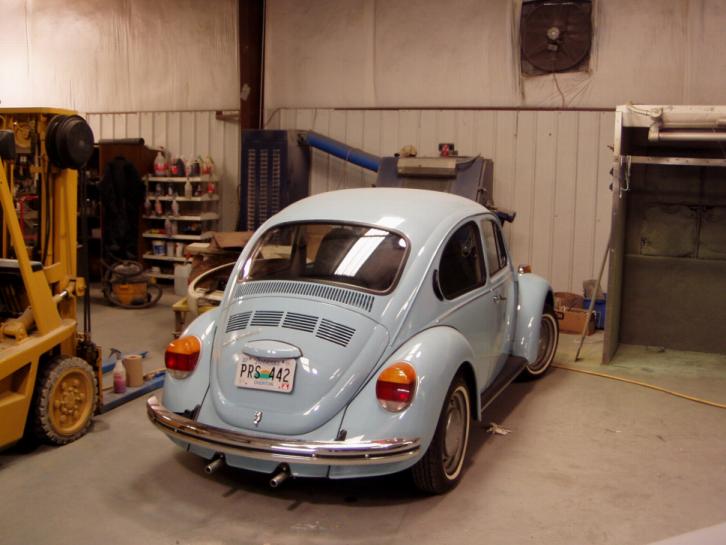
After the mechanicals were finished, we tackled the body. The weather stripping had gotten old and was cracked so it all came out . Actually, everything came off the body for paint. Here's what she looked like when she rolled into the body shop:
PHOTO
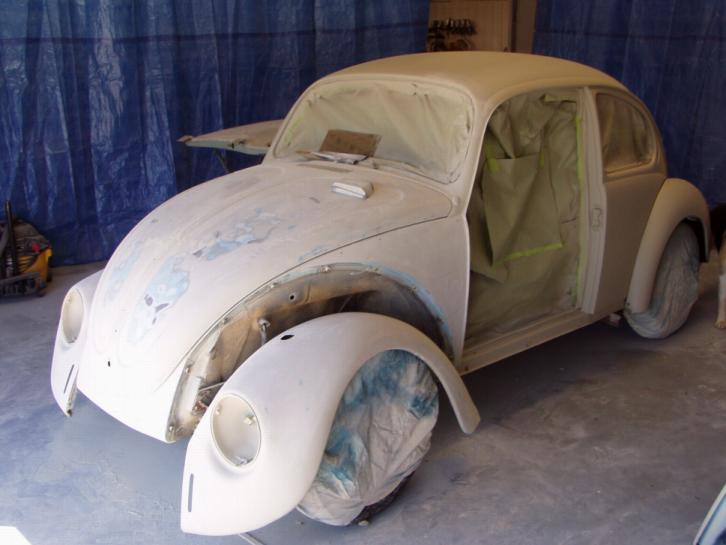
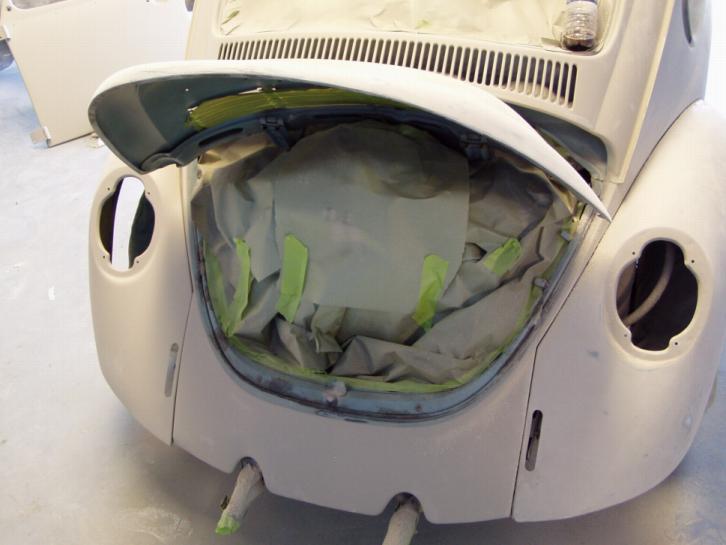
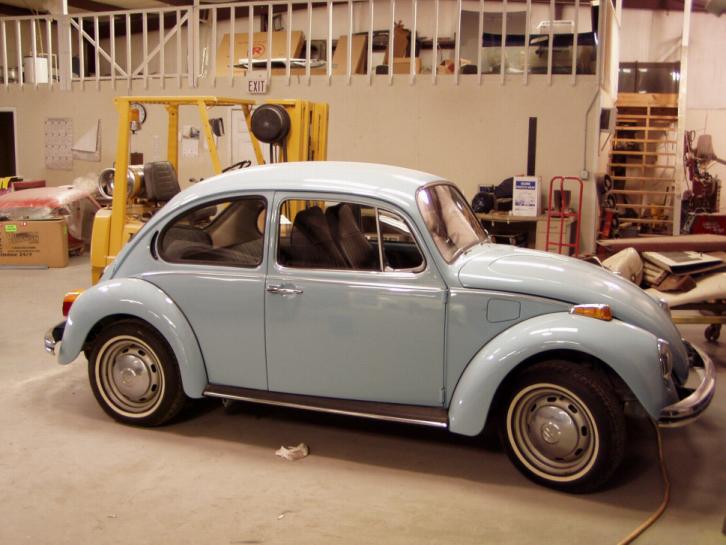
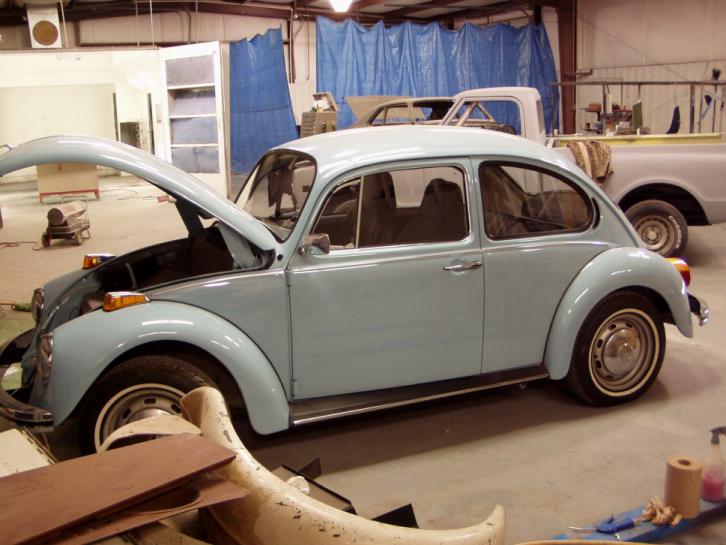
PHOTO PHOTO PHOTO Finally, she was in primer. All the body seams were resealed, the doors removed and everything taped off so the jambs and undersides of trunk and hood lids could also be repainted. While they're block sanding the little car, they're identifying and correcting every little parking lot ding or dent that becomes apparent. Mrs. Owens was involved in one minor accident with the little car. I remember she called me while the car was in the body shop complaining that they were installing a used fender. She wanted a new one. I explained to her that a good used, original fender was probably better than an aftermarket one. And at the same time, I called the body shop and made a deal with them to repaint the entire car - only that they should tell Mrs. Owens that the complete paint job was because she wasn't satisfied with the used fender. Probably the best thing that happened to the little car was that extra paint, even though we're having to replace things such as the antenna blanking plug because they painted right over it and it should be black. But, the extra paint protected the little car from all those country gravel roads and excursions out across her fields. Here's what the little car looked like when they were bock sanding her:
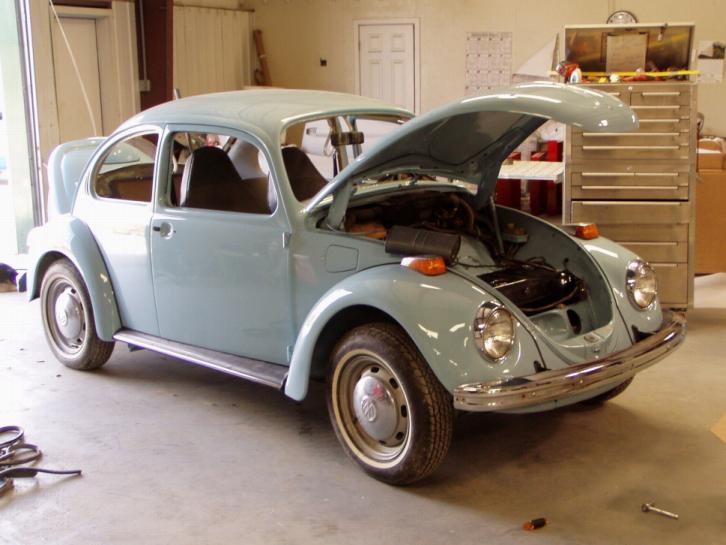
The main thing several of Mrs. Owens' grandchildren have lamented to me during the restoration process is that they hope the little car retains "grandma's smell"! Well, luckily, the only thing in the interior that we'll have to replace is the headliner which is stained from water seepage around the bad weather stripping and the back seat bottom which has a small tear (probably from a bale of hay, farm implement, sack of feed, or who knows what while Mrs. Owens used the little car for what she bought it). And then it was blue:
Now the assembly process begins. We've also sandblasted the bumper brackets and painted them with glossy black paint. Plus, the gas tank is back from the shop where it was boiled out, cleaned, and lined. It's also painted black.
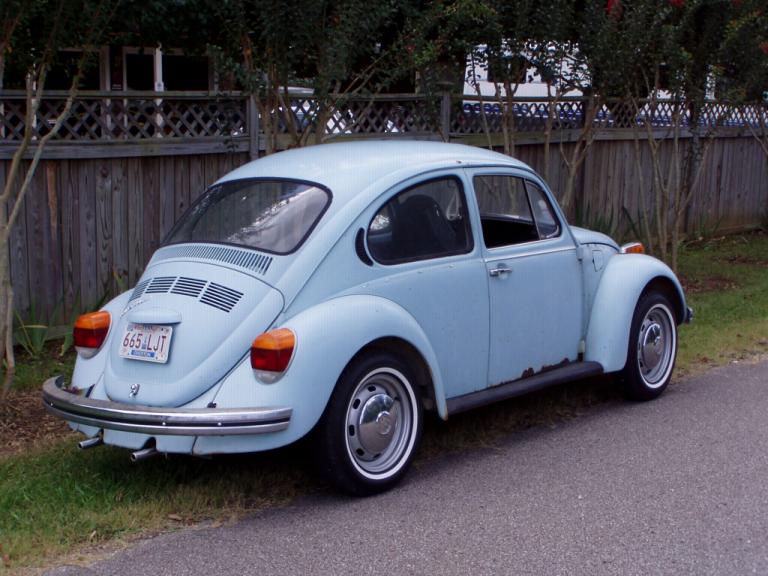
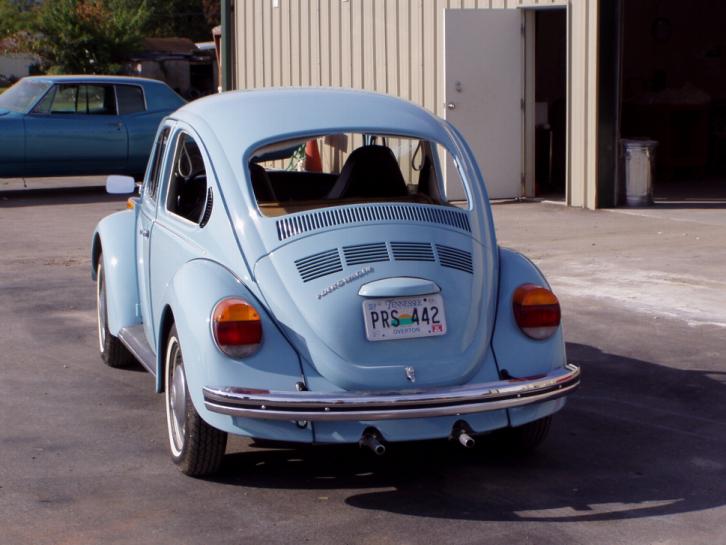
After seeing the new headlight trim rings, running boards and bumpers on the car, I went to our local VW place and purchased new taillights and front turn signal/park lights. The OE taillights were sun cracked all across the tops of the lens and the chrome top of the OE front turn signal/park lights just didn't want to clean up bright enough. That meant I also had to replace all 7 pieces of OE stainless trim down both sides of the car and the center of the trunk. All the old parts will go in boxes to be kept with the car. Tomorrow, we'll install all the new weather stripping, the black stripe in the center of both bumpers and finish the assembly process minus the windshield, rear window, and side quarter windows. Those go in after the new headliner is installed. And I also purchased a new gas tank/dash wiring cover for the trunk WHEW!. She's almost finished! Only a few items to install, pour some gas in the redone tank and take her to the upholstery shop.
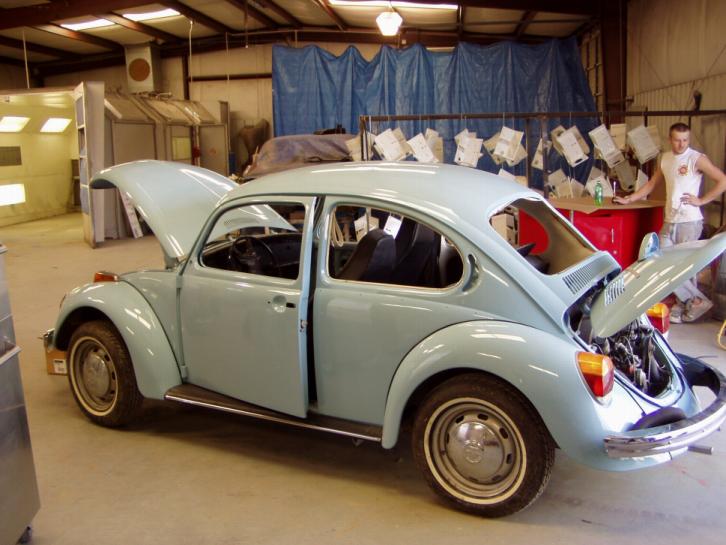
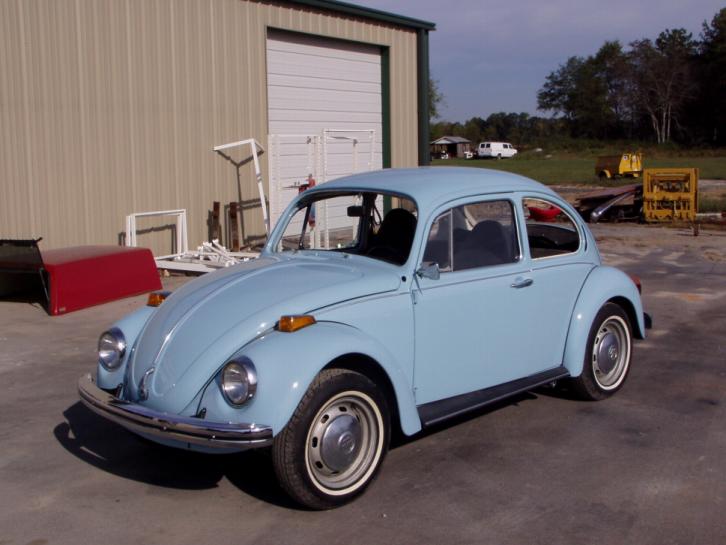
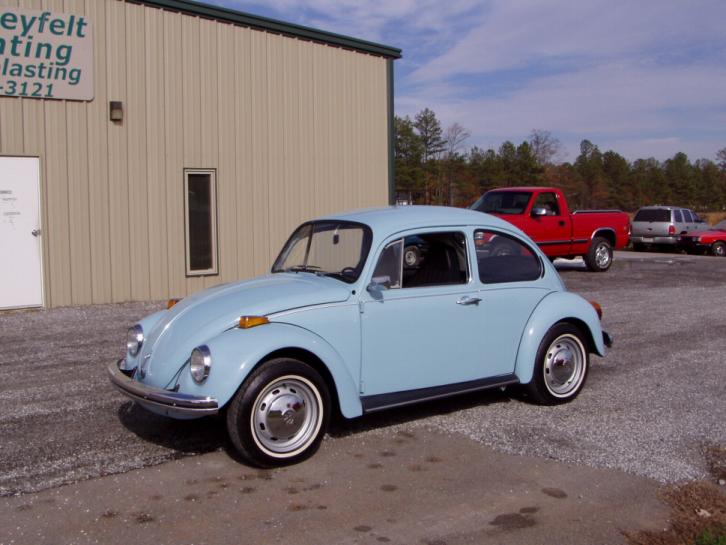
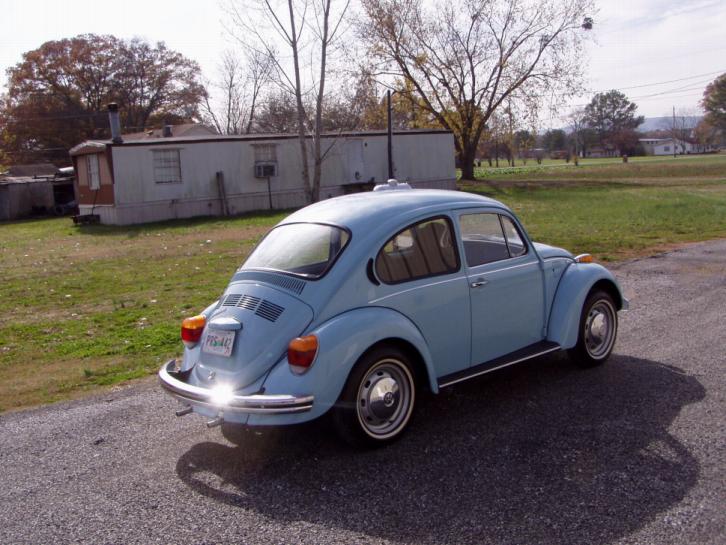
$2387 later we rolled her out into the sun. Absolutely beautiful. She looks just like a new car.
Now its to the upholstery shop for our friend Norm Kimmerzell to work his magic. He'll start by replacing the headliner and installing the windshield, rear window and side quarter windows along with new weather stripping.
|