|
|
|
 V8
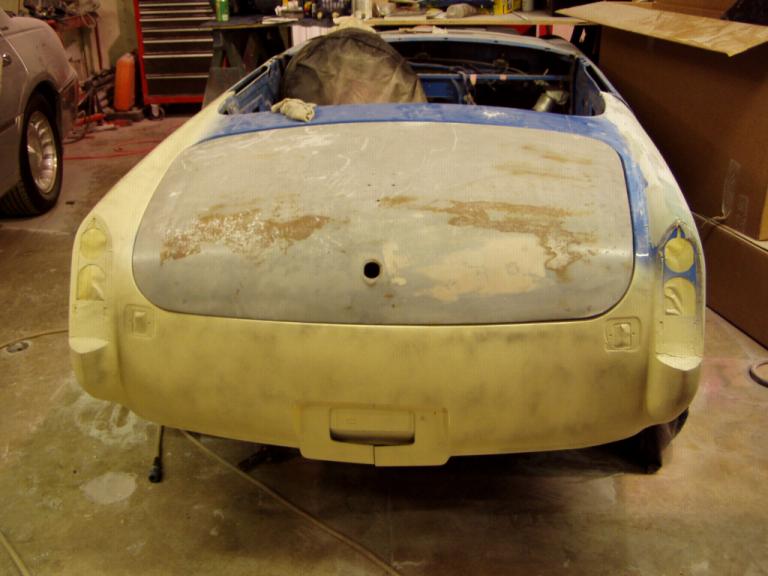
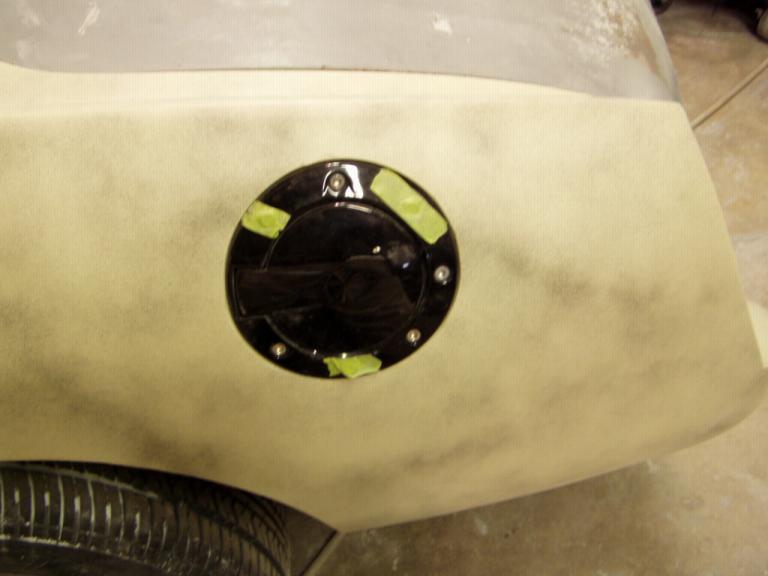
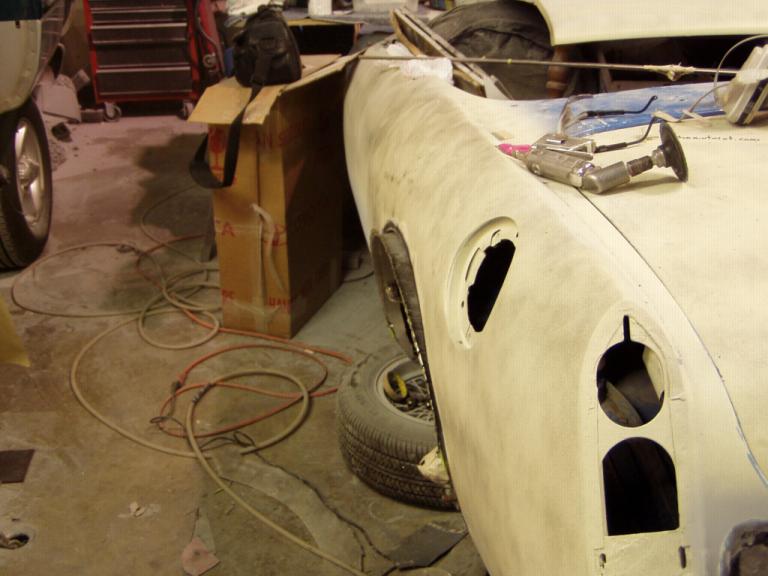
V8The guys at the body shop have gotten together and developed their plan of attack. They're starting on the rear of the car and will work forward. First thing they're doing is smoothing the rear quarters (eliminating the side trim line and smoothing the tops of the rear quarters by eliminating the fender bead) and reshaping the rear wheel arches into rounded arches; they're also taking molds off a late-model 7-series BMW's front wheel arch flares - those are the flares they'll use all around my car, just 1/4" wider on front than on rear. And as they work the fiberglass Sebring rear valance onto my car, they're also smoothing the rear end of the car and removing the stock MGB gas filler location. They're also cutting holes in the Sebring valance so my dual exhaust will exit through the valance rather than under it (ala the '65 Mustang GT - actually, they're using '65 GT trim rings to finish off the holes they're cutting.). Since the overall plan calls for shaving the door handles and trunk lid push, they're also doing some fiberglass work on the trunk lid. It'll end up with a built in air dam (ala the new Miata) that incorporates a third brake light.
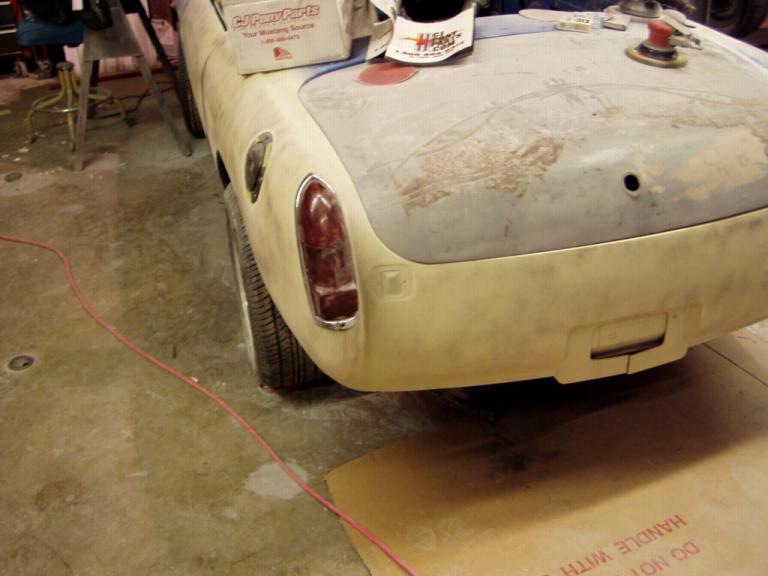
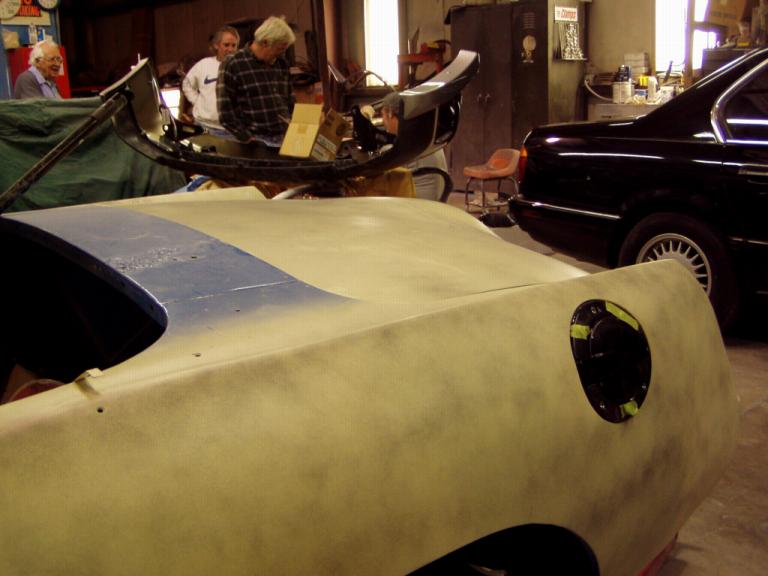
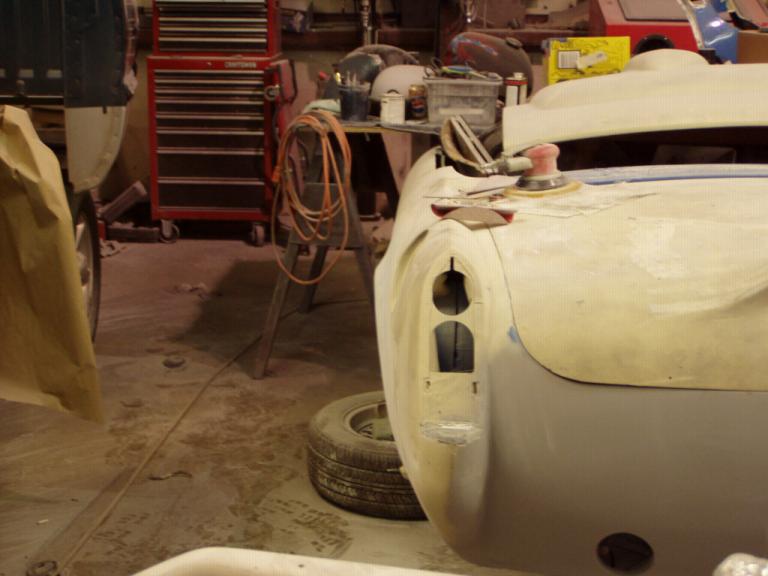
Taillights? Early 2-piece European amber upper/red lower MGB units - like she was originally designed to have! Additionally, the rear wheel arches still have to be rounded and the 1" fiberglass flares installed. There's lots left to do back here. This is only step 1.
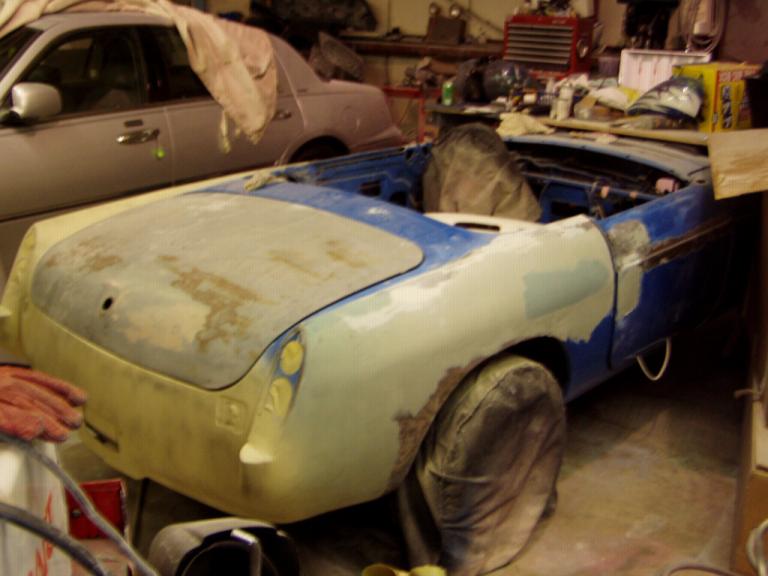
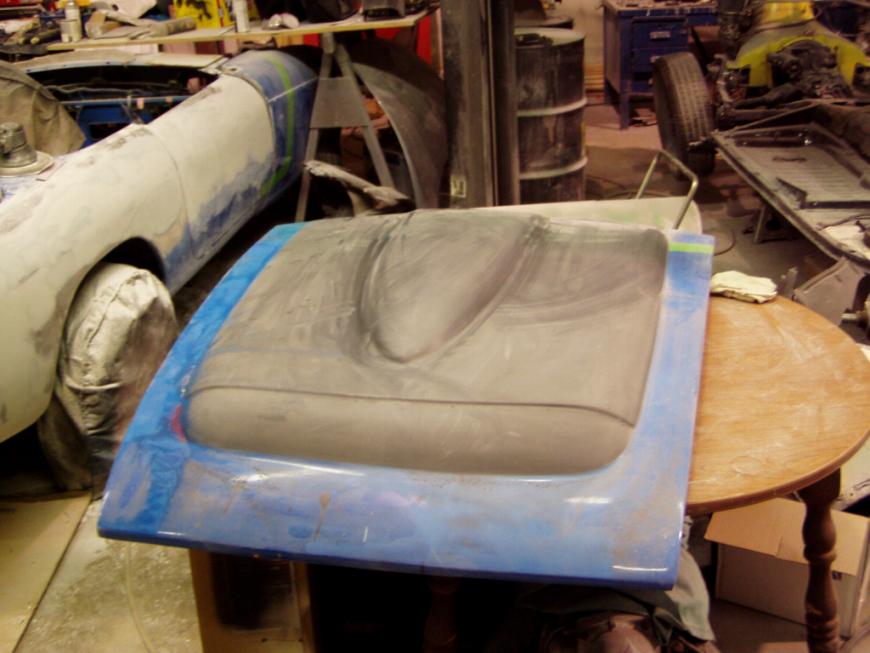
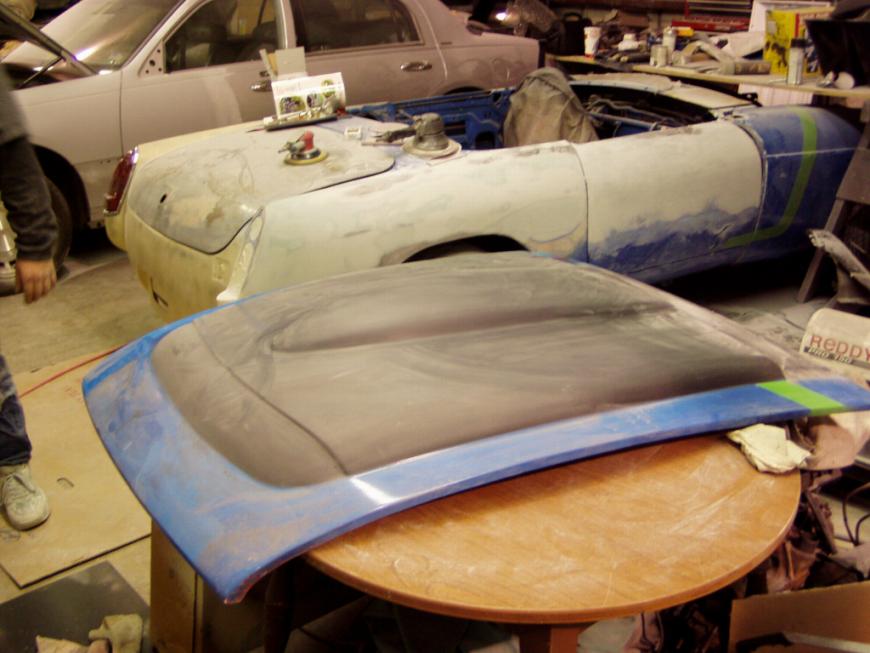
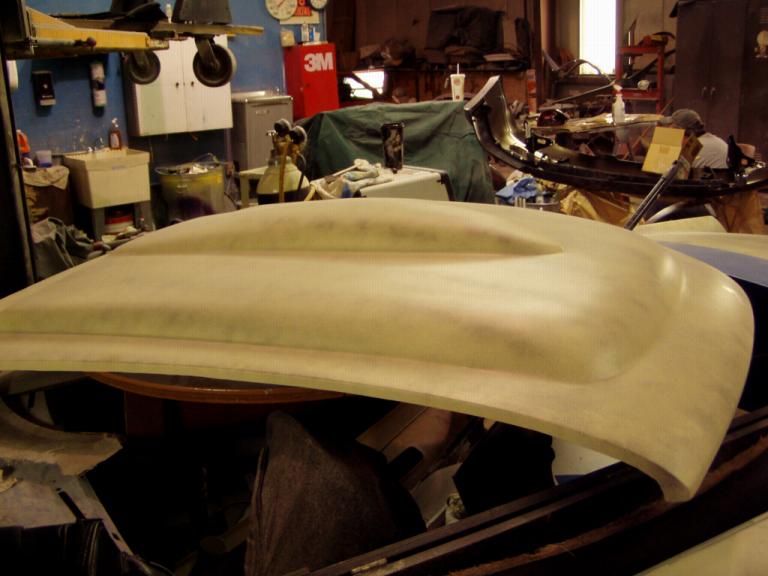
The front of the car? You'll just have to hold your breath! I will, however, give you a little peek at some of the changes to the front. Here's my custom fiberglass MGC hood after we've started modifying it. And we're still not through. After looking at it at this point, the consensus in the shop was to smooth out the chrome line at the front of the MGC hump so it and the chrome strip are eliminated and the hood becomes 'shaved'. That'll happen this week.
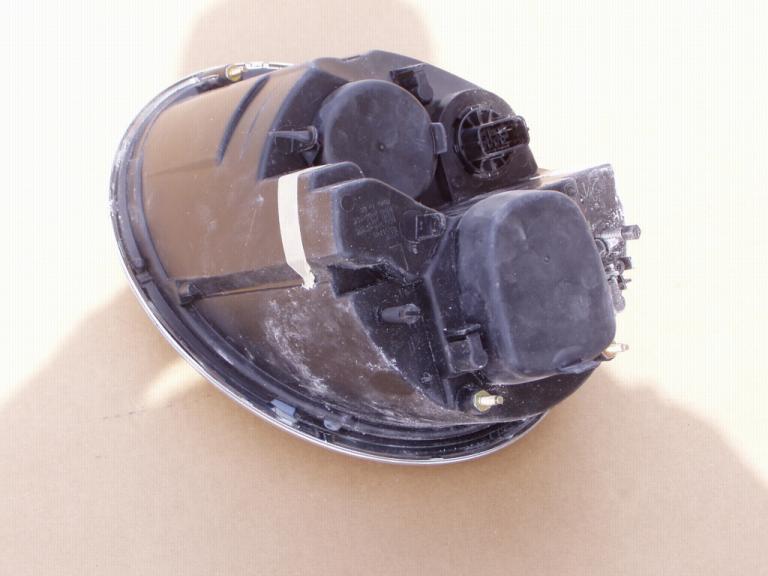
In the background of the photos you can see my car with one of the taillights installed. Right now, they're cleaning up around them so there'll only be about a 1/8" gap where they meet the body.
I also went by the Harley Davidson dealer to discuss rearview mirrors. I want something small that harkens back to the early fender-mounted mirrors of the '50's and '60's but that are small enough to not stand out when mounted on the doors. The parts guy showed me several sets of mirrors and I found one I really like, except it says "Harley Davidson" on the stem. So, into the parts room he went and came out with a set of aftermarket, short stem mirrors that will look great on the car - no H-D logo either! They'll be test mounted soon. Finally, I gave my go ahead for the rear wheel well flares. We're going with a 1" flare back there. I'm going to remove the gas tank and take it to the radiator shop for modifications so it fits the Tiburon gas filler on the driver quarter. I'm also taking an MGB GT hatch floor to the body shop so they can start building/welding in the GT floor supports into the roadster's trunk and then get it fitted. Radical.
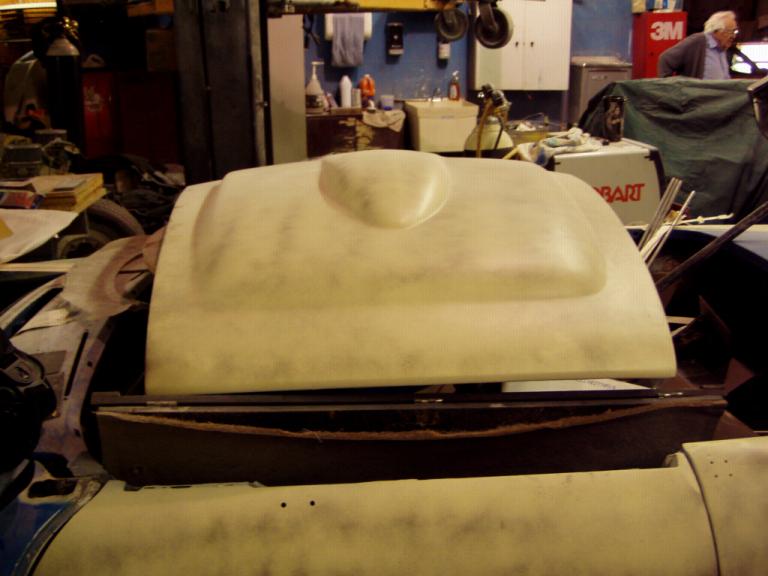
Plus, the hood is also changing. The easiest way to show that transformation is with photos.
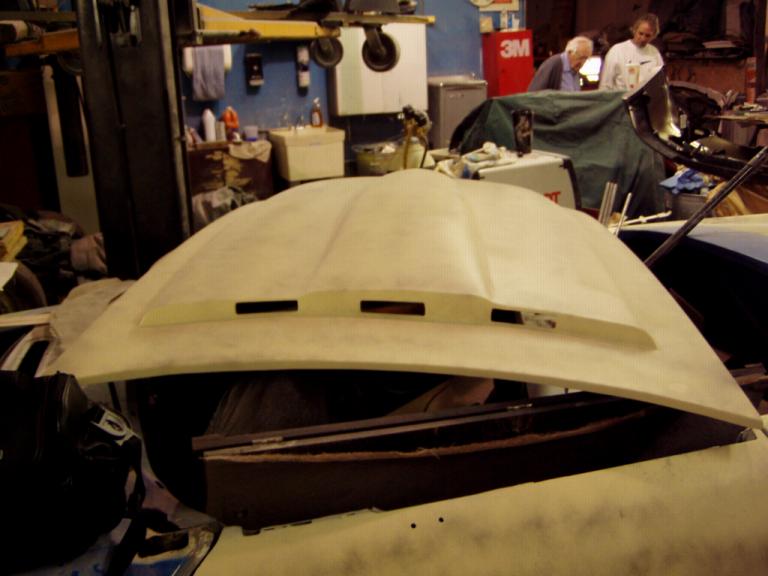
If you're wondering: in the left photo above is the custom MGC fiberglass hood I had British American make. It has the entire center section raised a couple of inches. In the center photo is the same hood with a custom fiberglass GT6 scoop added. And in the right photo is the same hood with the front MGC chrome section smoothed. Here are a few more photos that show the hood's details. The first one shows the openings in the rear that will act as a type of cowl induction, pulling hot air from the rear of the engine compartment. We've manufactured small grilles to go inside them Those grilles mimic what will be installed inside the original MGB grille.
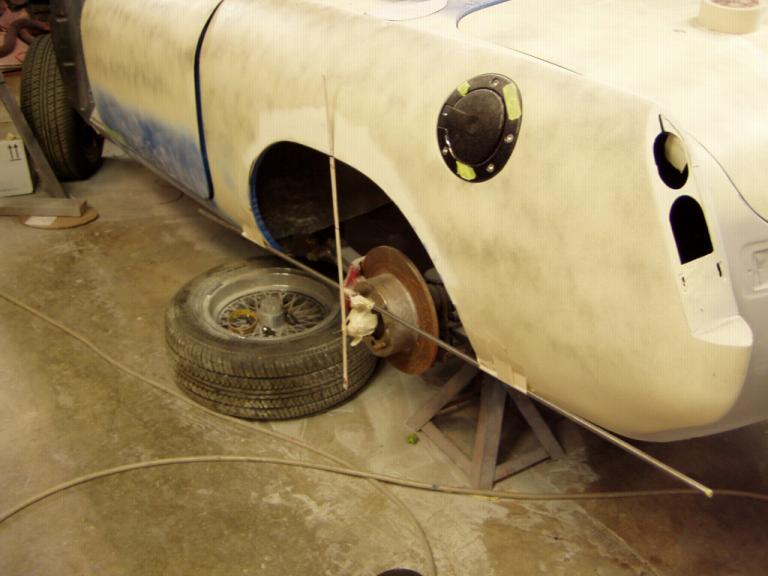
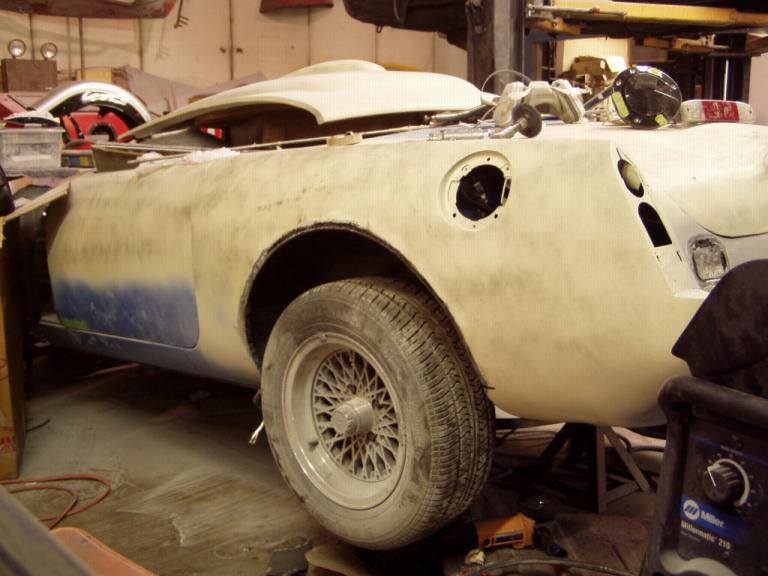
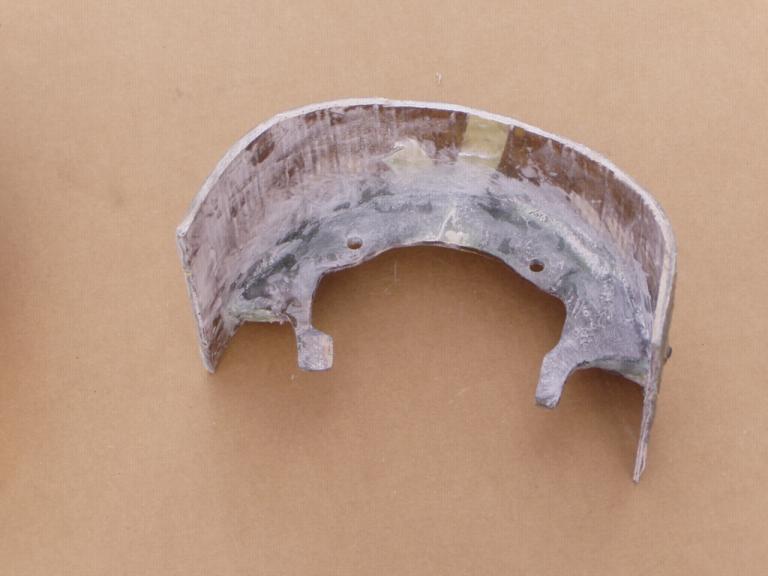
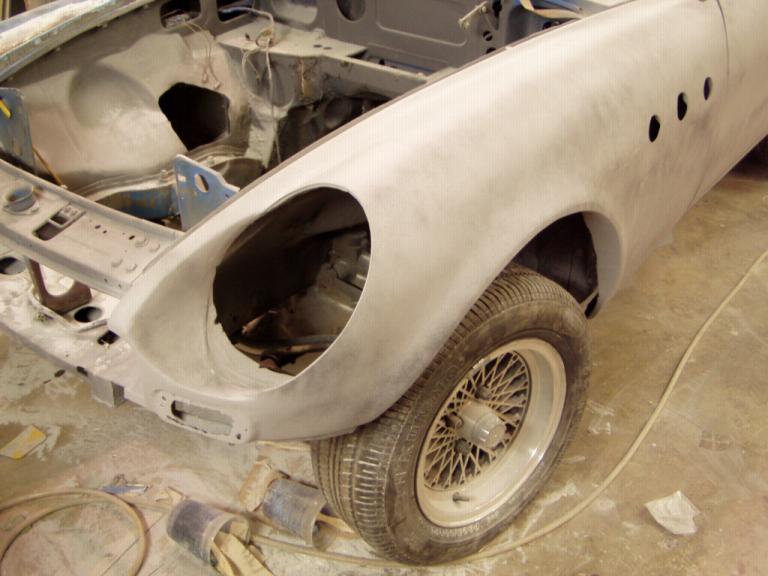
Rounding rear wheel arches/making their flares: Remember, we pulled molds off the rear wheel well flares of a late-model 7-series BMW. That gave us the outside design of the flares we'll use on my car - 1" in the rear; 1-1/2" in the front. But, it doesn't give us the overall 3-dimensional shape of the flares. First, however, before flares can be molded to the car, we have to cut my wheel wells to match the basic shape of the flares. To do that, we're rounding the arches. The photos below show you the protractor my master body man made to get the rounded wheel arch shape. From the center of the rear hub, they moved upwards 2" and made a cardboard ruler that split the original wheel arch at both bottom corners. Drawing along the arch from those bottom points, the protractor raised the center of the wheel arch 3" as it rounded it.
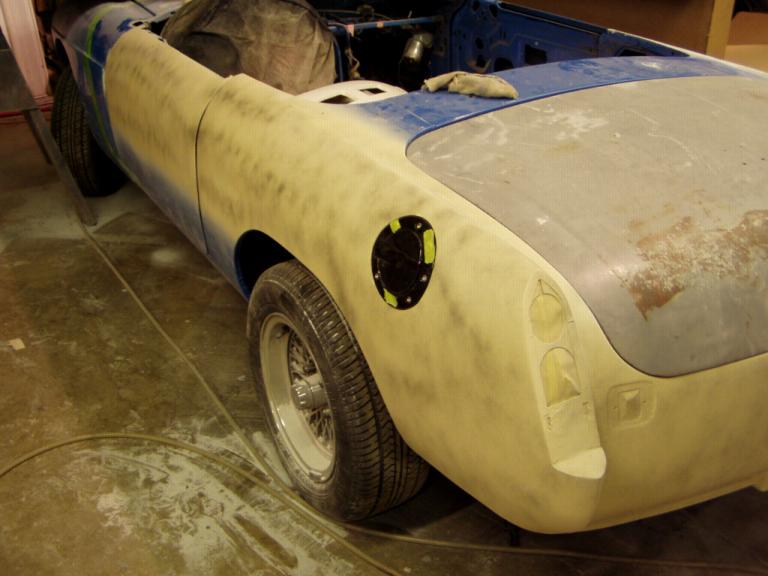
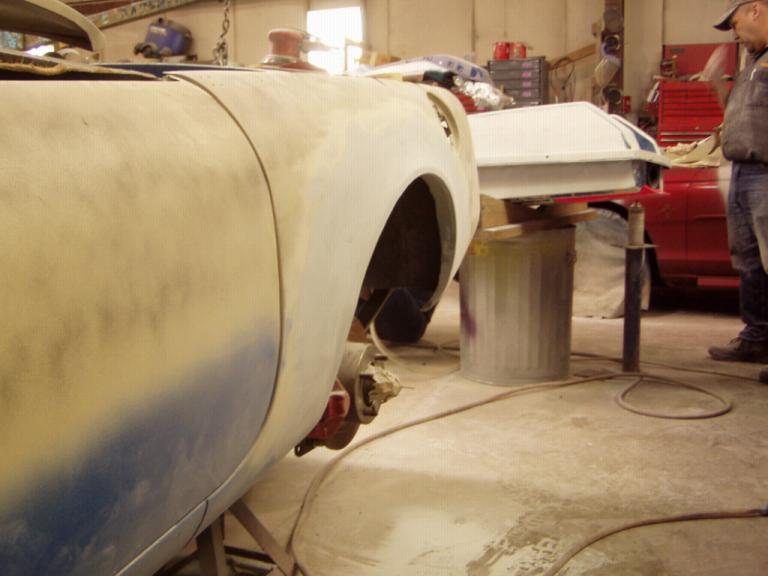
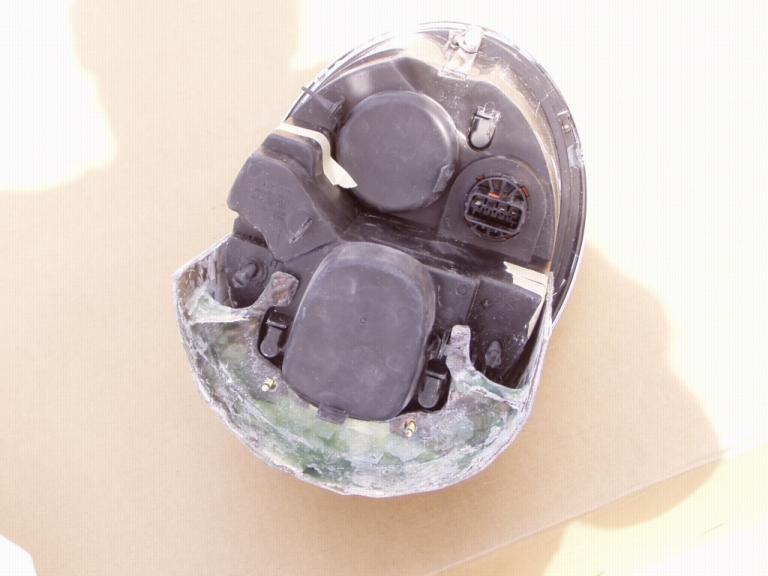
Here's what the new wheel arch looks like with a 14" x 6-1/2" wheel installed (though the car is still jacked up, the effect is clearly evident). And remember, we're going to an even larger wheel once the car is on the road.
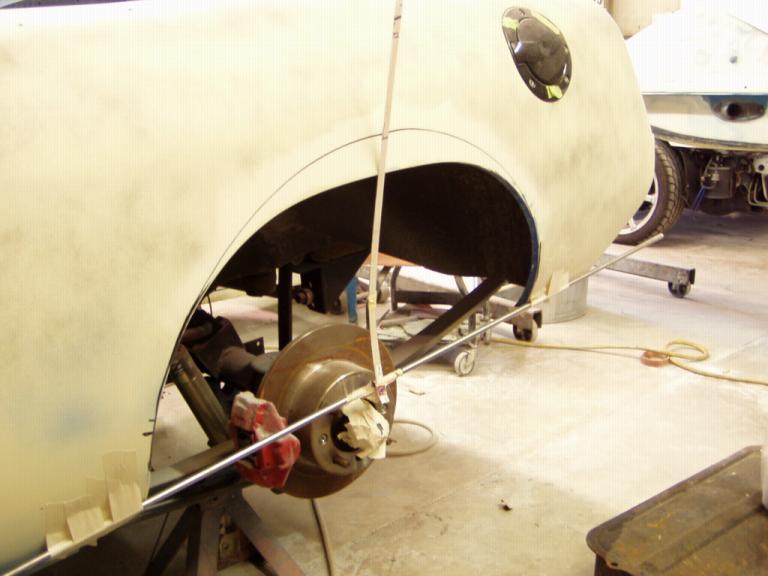
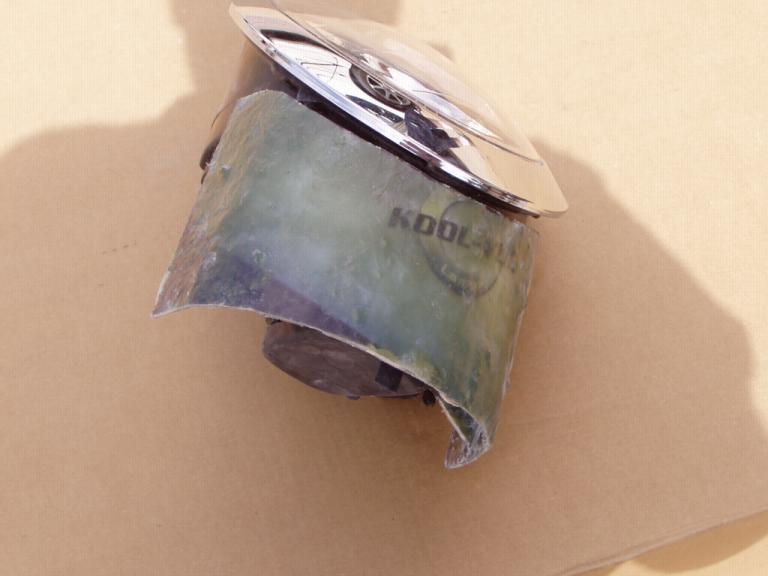
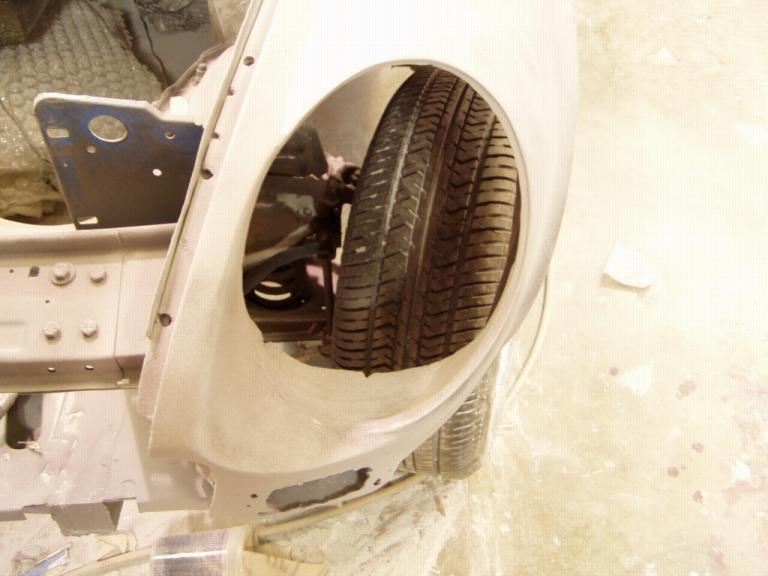
And here's what the flare contour will look like from the rear of the car:
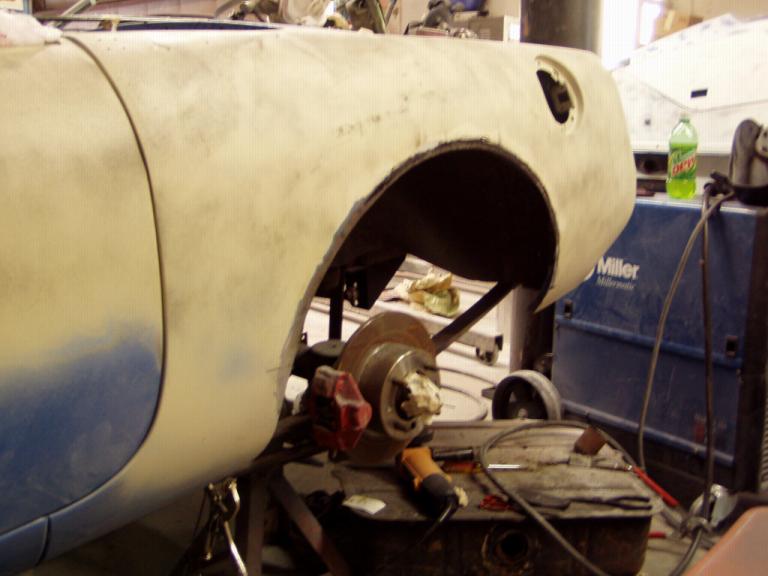
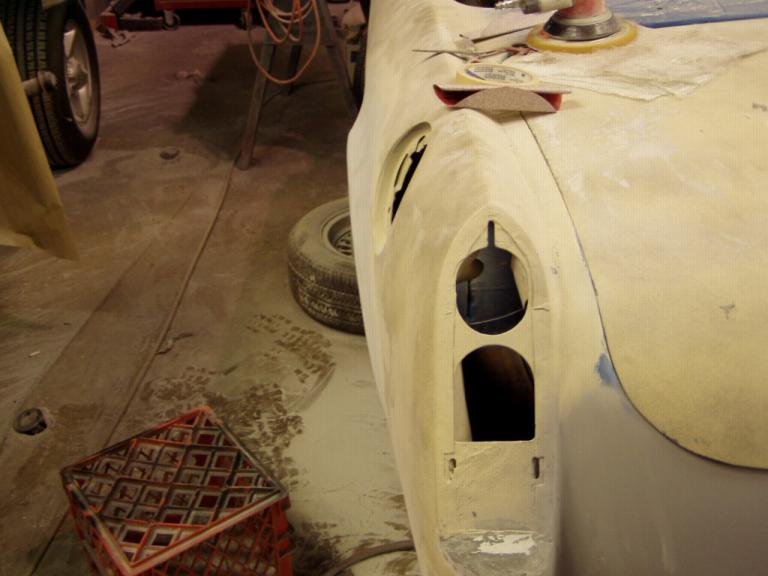
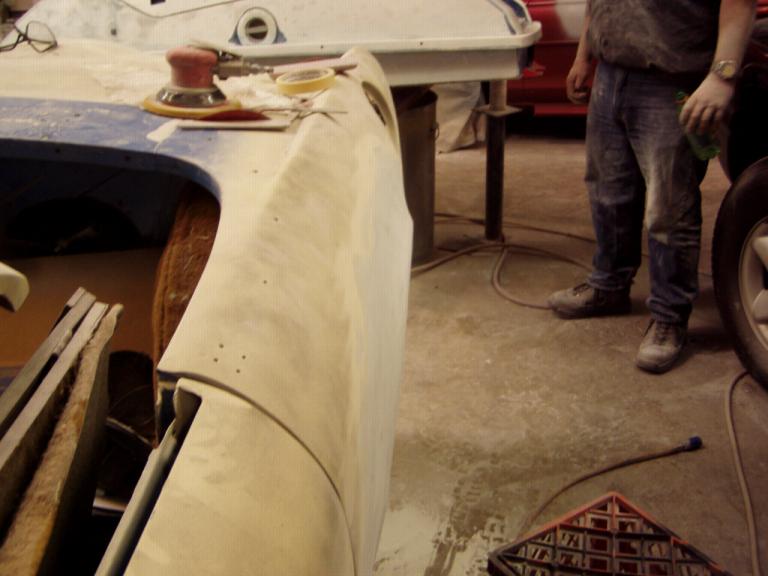
15 Mar 04: Since the last time I was at the body shop, foam has been glued to the rear quarter and then shaped to match the contours of the wheel well flare we pulled from the BMW. Then, a layer of fiberglass cloth was laid up over the foam and smoothed to blend into the body while maintaining the basic shape of the BMW flares. In its final phase of smoothing, here's what the rear flare looks like. After smoothing is finished, the rear quarter will be primed and work will begin on the opposite flare.
So, there's the basic read wheel well arch after its rounded and flared. Subtle yet it draws your eyes right to the flare.
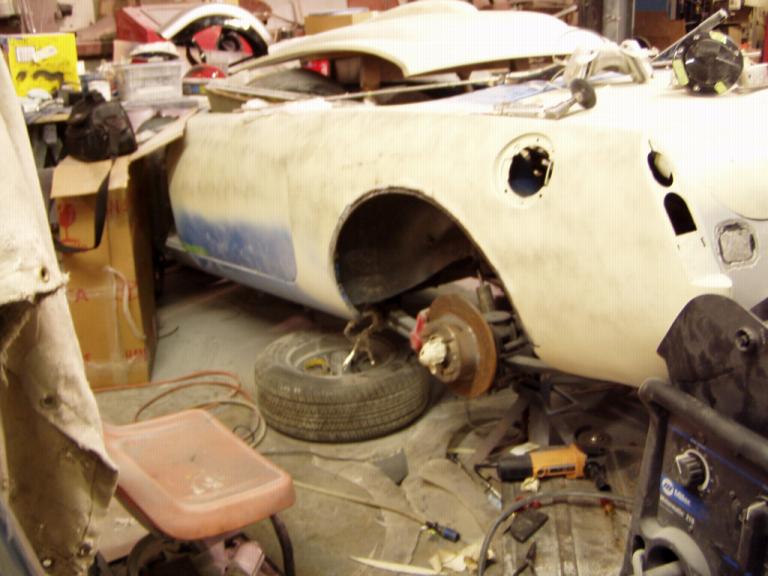
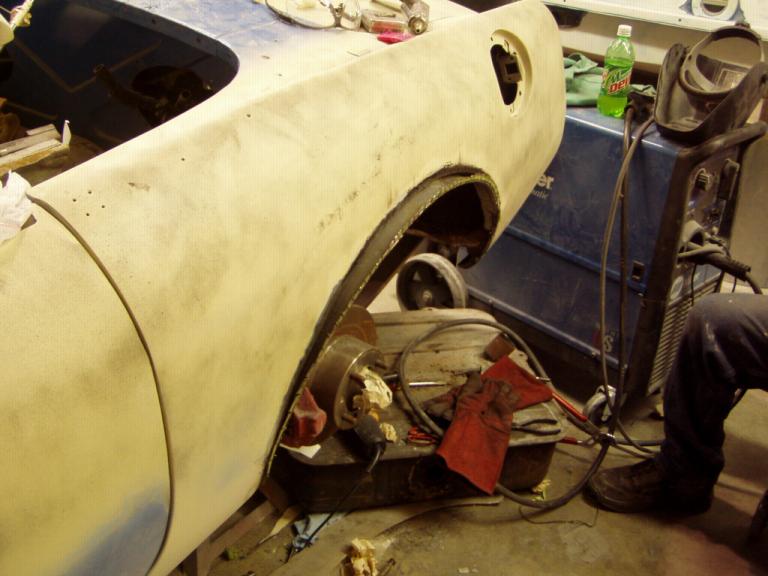
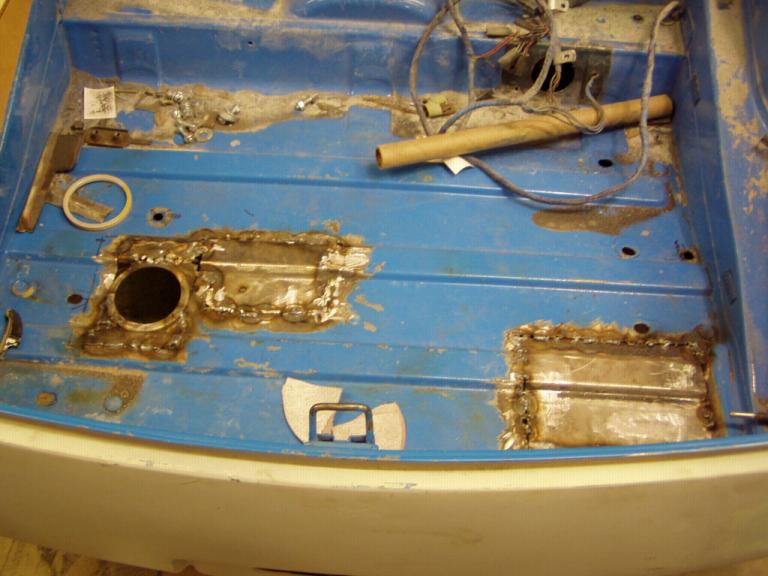
Well, both rear flares are finished and the third brake light housing is shaping up; so, work inside the trunk can begin. We've got to reshape the trunk floor for the relocated gas filler....
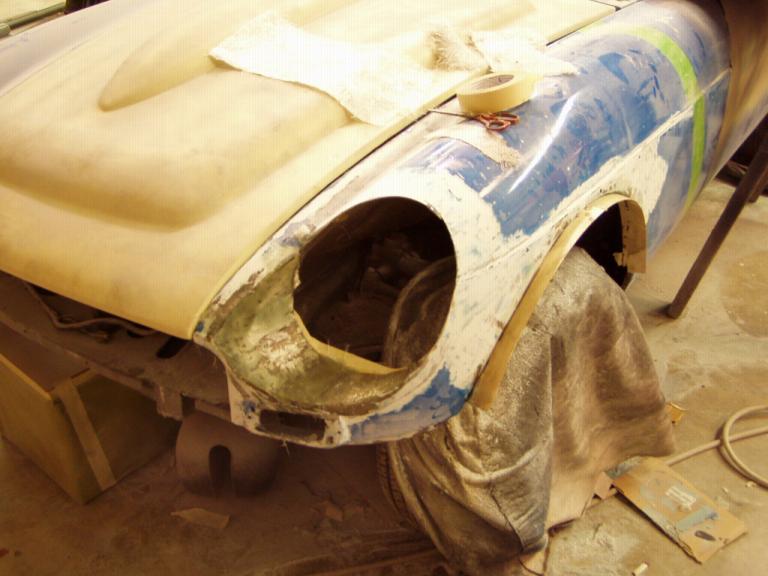
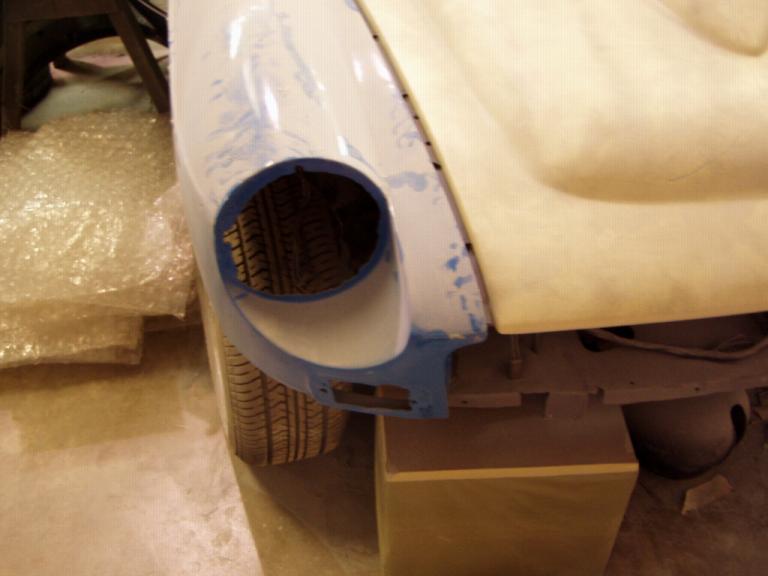
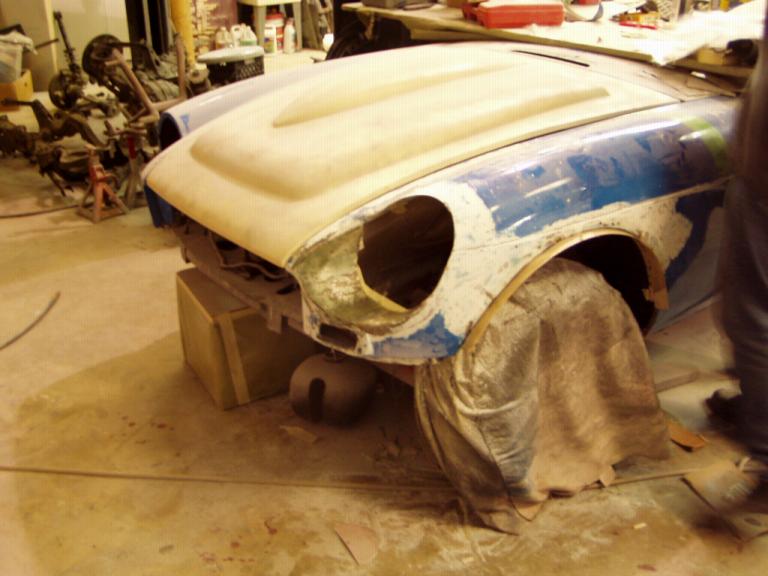
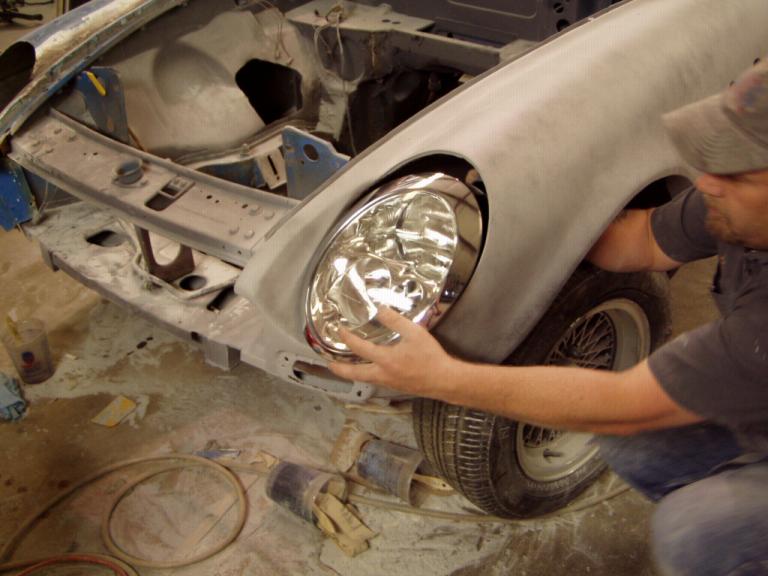
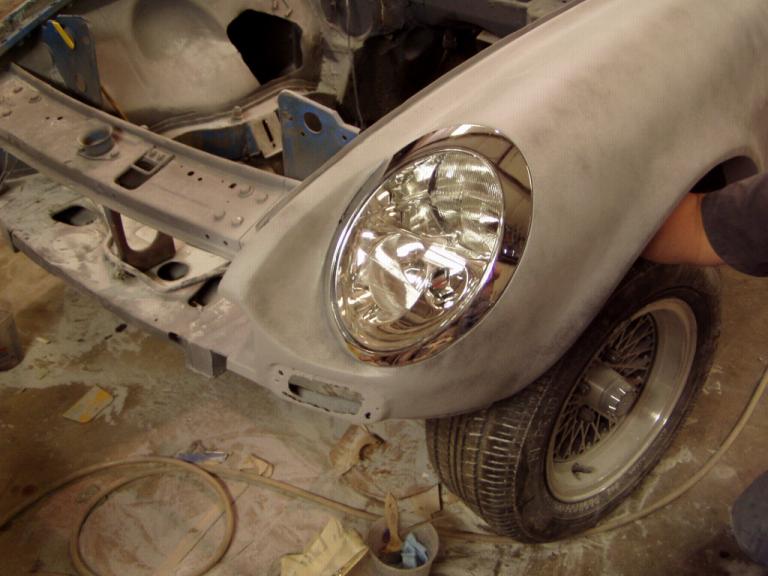
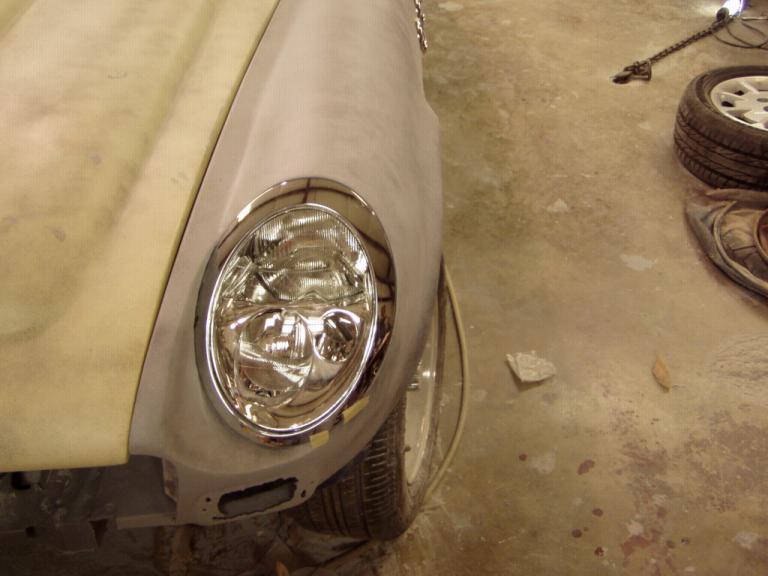
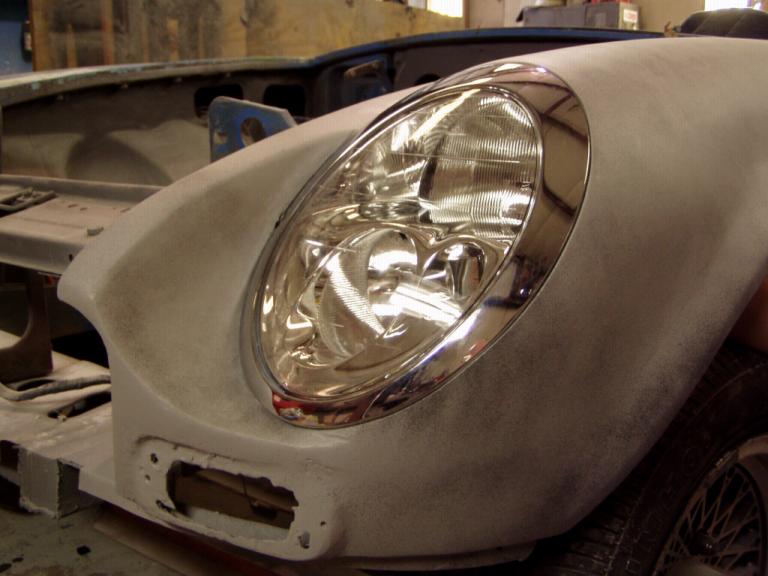
However, what you really want to see is the front end; so, here's a photo and then I'll walk through the process for the conversion.
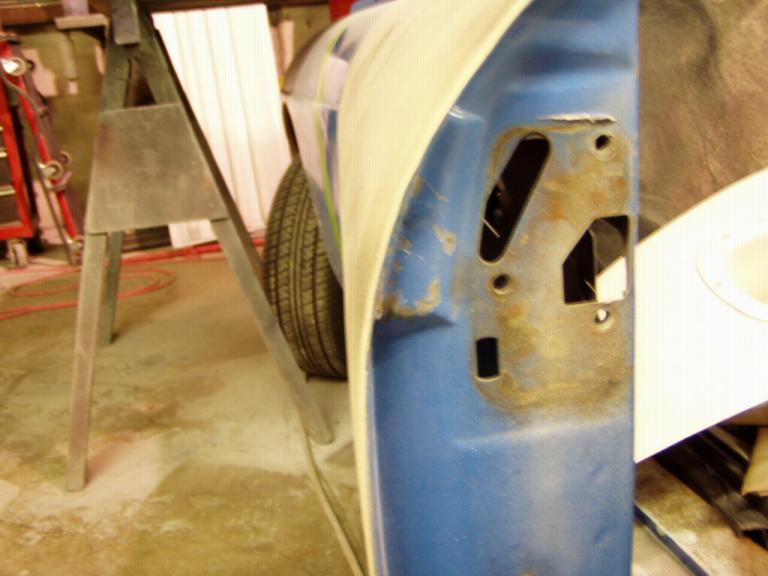
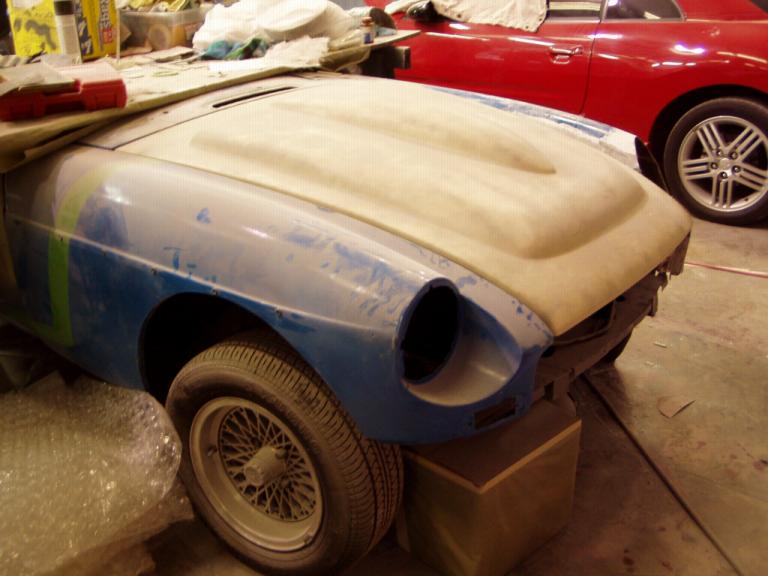
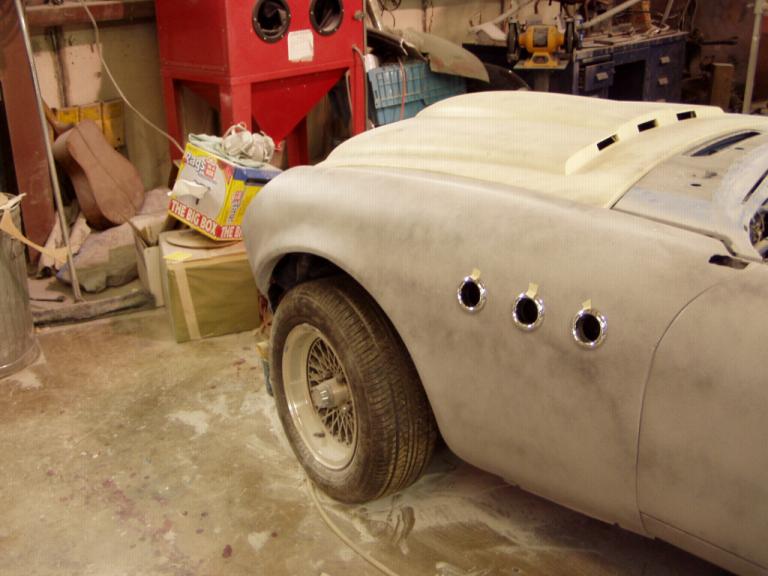
Yep! New Mini headlight buckets, smoothed side body line, fender flares, and '49 Buick port holes to vent heat from the engine compartment. And I'm here to tell you: unless I see the car in person, I don't believe another exists anywhere in the world with this headlight modification! Especially not utilizing steel fenders. Lemme show you why I say that:
How long did it take. This 1 fender took 2-man weeks of labor! The second one took about 3 days. So, this is definitely a modification to be carried out by the professional body man. And my body men have decided they wouldn't want to do this in metal!
|


|