|
|
|
|
|
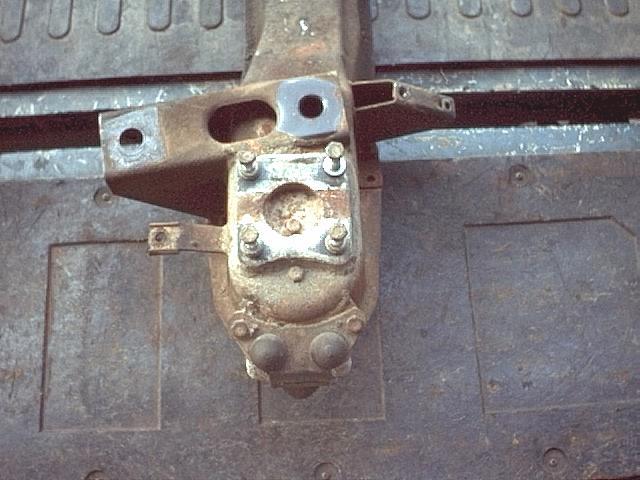
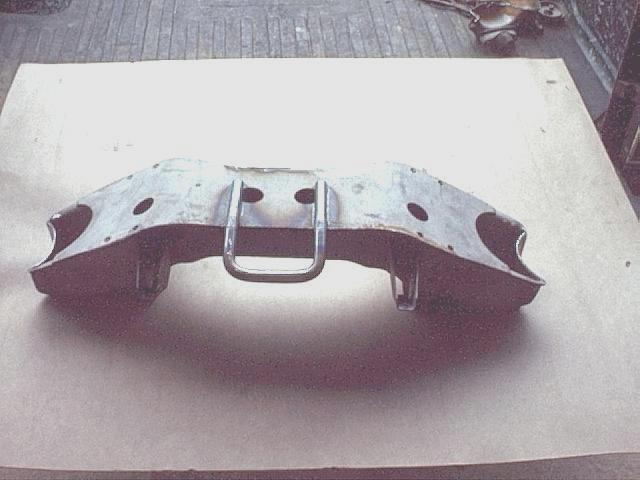
Step 1 is to prep the suspension cross member to accept the coil-overs. The instructions that came with the kit state: "In order to be able to fit a full size spring shocker (Tony's Note: 'full size spring shocker' is apparently English for 'coil-over spring'.) of this type it is necessary to modify the front cross member in order to give clearance. We can do this for you or supply a ready modified unit on exchange. If you wish to carry out the modification yourself then use the top mounting as a template to cut a curved section from each end of your cross member and weld in a gusset. (These can be supplied) Well, since cross members are too heavy and bulky to ship across the ocean, they supplied me with the gussets. So, I'll be making the modifications to a cross member I removed from an '80 parts car (hey, I'm not gonna cut up my beam until I fully understand what it entails!). Below are before and after photos of the stripped cross member.
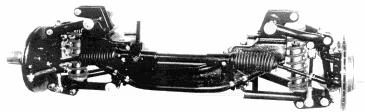
And, here's a side view of 2 beams showing the differences between the original shock and the new upper mount:
|

|
The sides of the cross member should
then be cut perpendicular to a level plane. Finally, weld the gusset into
position. |
|
I also have one of Ron Hopkinson's 3/4" oversize front anti-sway bars. And, after finding all those bent lower wishbone pivots, I ordered a new pair from Moss (# 264-270). Once we have the cross member modified, it will go to the sand blast shop for a thorough cleaning. While I'm at it, and because the car won't have a front bumper with tow hooks, I'm gonna add a tow point to the front beam.
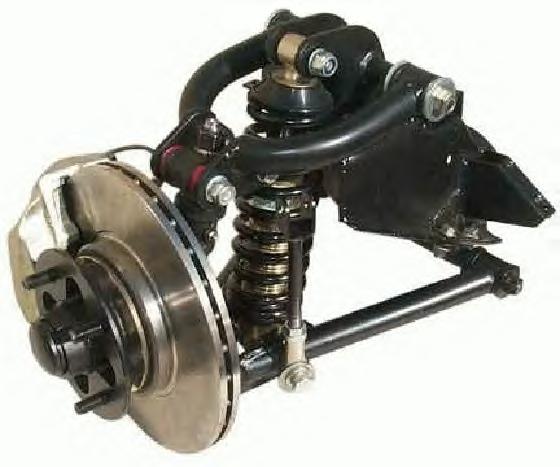
And, here's a photo of the finished front suspension beam before we start building it.
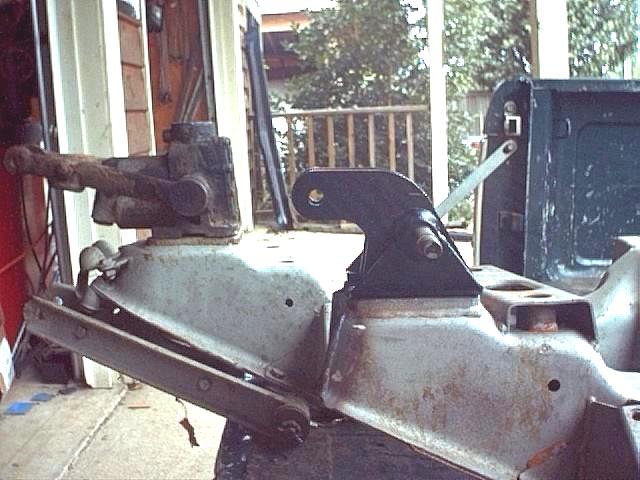
2 September 2002: And, here's what it looks like with the Rover SD-1 4-pot calipers installed. At this point, the suspension is complete less the hubs and brake rotors. Those will be installed after the hubs are modified for weight and the rotors are cross-drilled. Installation was pretty straightforward considering you have to match the Hawkes and Doug Jackson parts lists to replace those items Doug upgraded. The only thing that concerns me a bit is the king pin installation. And, that's not a factor of the coil-over kit; I think it has to do with the MG, Ltd. modified stub axles or the king pins themselves. When I went to install my new king pins in my modified stub axles, I only needed to use the brass thrust washer, no shims were needed. So, what I did was take the king pins over to my drum sander and massage the fulcrum pin cutout enough so that I could install thin shims (.057") above and below the thrust washer. To install the Rover SD-1 4-pot calipers on the MG stub axles, I used TR8 bolts that fit the holes in the calipers as the sleeved portion of the stock MG brake caliper bolts are smaller in diameter than the holes in the calipers. One other problem to overcome is the threads in the Rover calipers: they're different than the threads on the MG braided stainless/teflon brake hoses. So, a trip to my brake parts supplier is next. I've a friend, Mike Adams, who lives in Canada and who's restoring a Camden-supercharged MGB for vintage racing. His car, built and raced by Al Pease, has a 20-year racing history behind it to include some serious Canadian circuit wins; and he's restoring it to its original racing specifications. And under it is this:
Now, that's a well-ventilated beam. When I asked Mike about its
strength, here's what he wrote:
My beam is already lighter because the ends were cut off to support the coilovers; the Hawkes kit is about the same weight or maybe a bit less than the original suspension; but, the Rover SD-1 calipers are heavy! So, with Mike's response, I'm going to disassemble my beam and drill a few holes - not as many and none anywhere except on the beam itself.
Weight reduction from that? I'll know after I do the drilling. |


|
|